
Being a fan of cameras and digital or film photography, I was definitely very excited to receive this Do-it-Yourself Camera Kit and made it part of my weekend DIY project.
The DIY Camera Kit isn't so complicated. Once you understand the manual, it is all an easy step-by-step process. The only challenging part is probably handling the tiny little screws and making sure those tiny parts are installed properly without losing it; cos if you do lose those parts, it might be the end of the assembling project.
One extra tip: Along the way, you might find your own way of assembling it; use the manual ONLY as a reference (think Lego).
Reminder: Also, please be extra careful when assembling. Do not use too much strength, be gentle and patient. Once it's broken there is no going back. Avoid tightening too hard or too loose. It is a bonus for you if you can get your hands on one of those magnetic screwdriver to gain some control over the tiny screws.
I have to admit, when I first got it, I was (gleefully excited) frowning half the time trying to understand the manual. You might feel a little nervous at first, but once you start, it gets addictive that you just want to go ahead with it and never give up when you come across challenging parts.
While it tests your patience, like I said, it is still FUN! If you find yourself unsure about certain parts or steps, don't be afraid to undo, and redo one more time. But to be honest, highly unlikely you will experience that. Again, it is pretty fun, easy and mind-boggling!
FYI, this blog post will be longer than usual. I will be featuring videos of the DIY camera assembling part by part and lots of photos too. So brace yourselves!
About Recesky Twin Lens Reflex DIY Camera:
This camera has a shutter speed of 1/125 seconds and has a focus of 50cm to infinity. It is a 35mm film camera, which is a good thing because you can still get 35mm films these days, both colour and black and white to complement its vintage outlook.
------
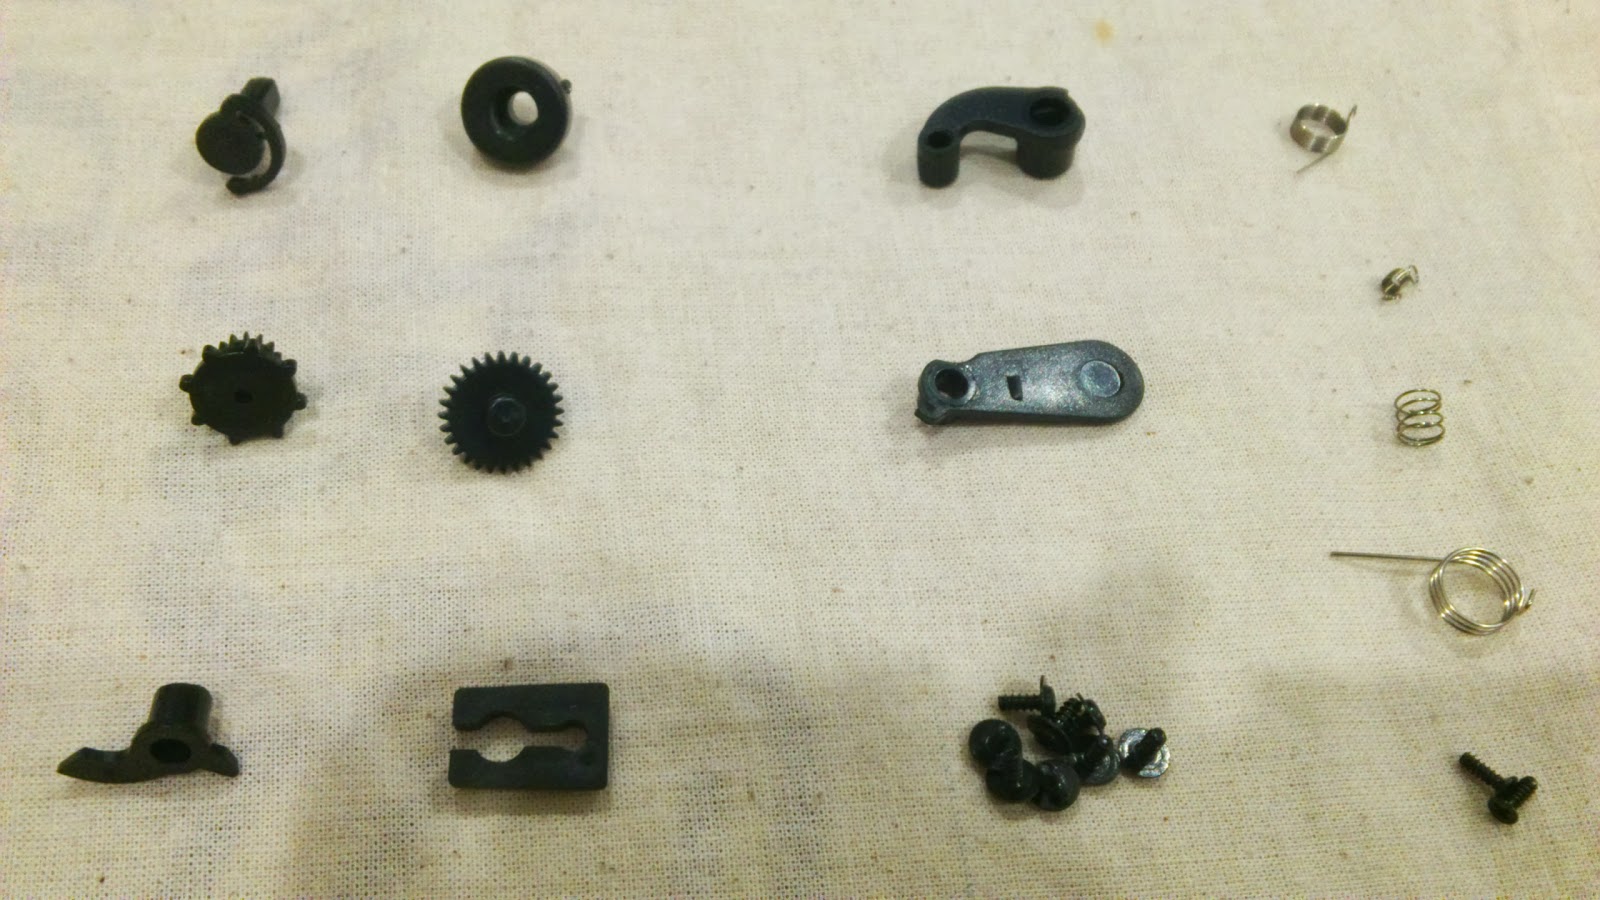
The important tools (you need small screw drivers)

The DIY camera kit (see photos)
 |
| The diy camera kit comes with a manual; it guides you from assembling to taking photos with this unique camera |


Things to look out for when assembling the camera (see photos)


 |
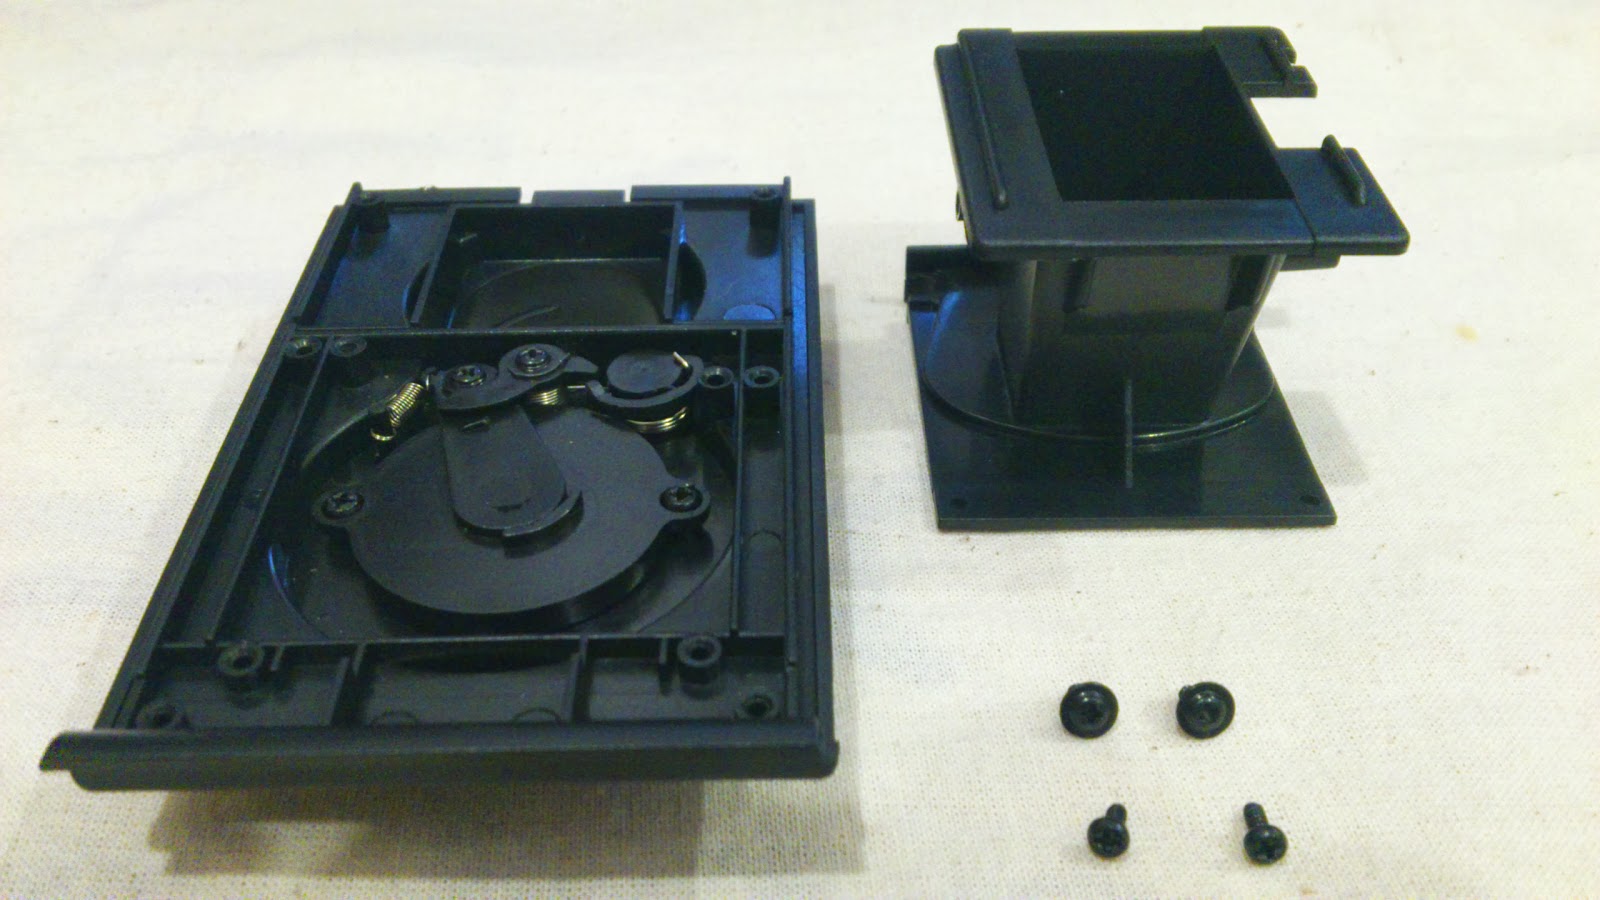
| Be extra careful when you assemble this part; start from the inside first which requires the two different springs, and move on to the front, which is the shutter part (see next photo). |
 |
| It should look like this on the outside once you have installed it. You need this to take photos. ------ ::: ------ |

 |
| Be patient when assembling the spool; it is a little tricky. You need this part to put in the film. |
 |
| Be patient with this part too, it is a little tricky. Refer to Part 4 video to see how I install this part. |
 |
| When applying this, be careful not to get fingerprints on the mirror. See below how I assemble this part |

 |
| It should like this (see above and here) |
 |
| TAKE NOTE which side panels belong to which side; the one with the gear should be on your right |
 |
| Installing the side panel with gear, you need 3 screws and the small screwdrivers. If you turn it the other way, it will be on your left |
 |
| Installing the view lens frame. It should be in this order. |
 |
| Make sure your lens is facing the correct side up or down. Do not get your fingerprints on it |
 |
| The view lens frame are different from one another. See the rim, pointed with a screw driver |
 |
| See here to see which view lens frame belong to top or bottom. Check first before you assemble |
 |
| When assembling the view lens frame, make sure the teeth (jagged edge) of the gear fits in together properly. Slowly turn them, make sure it is not tight, you are not meant to tighten it. |
The Process (Part by Part)
Want to see it in FULL?
Check out the video here (Featuring, the unboxing of the kit)
Got any questions? Don't hesitate to ask. E-mail me or leave me a message here. I'll get back to you soonest!
No comments:
Post a Comment